This material was collected from nature in end of February 2012. It is one of first tree in my collection.


and it was potted into my own mix builder sand/road girth/compost 1/1/1 ratio.


And 4 weeks later


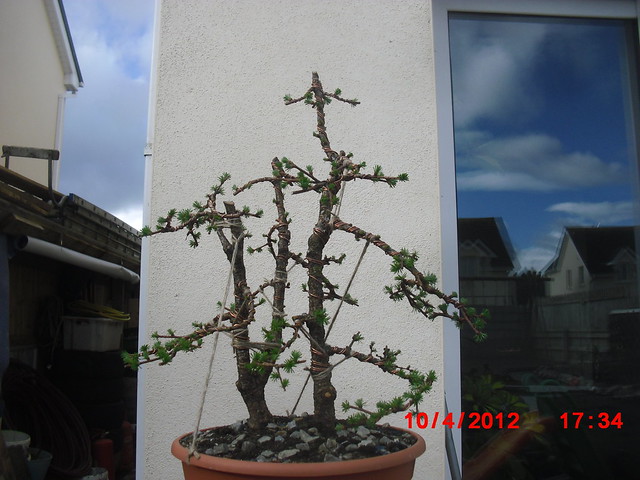
As I said it is one of first tree in my collection so the beginners hot fingers could not resist. And I let they go. I put my first tree into first workshop with not experienced novice bonsai enthusiast ( me myself 🙂 ). My knowledge was only few readings from bonsai forum and some videos from YouTube. I was very proud with me myself. So look at the final effect.


What a grate job isn’t it? But I wasn’t happy and 1 month later decide give it some adjustment.


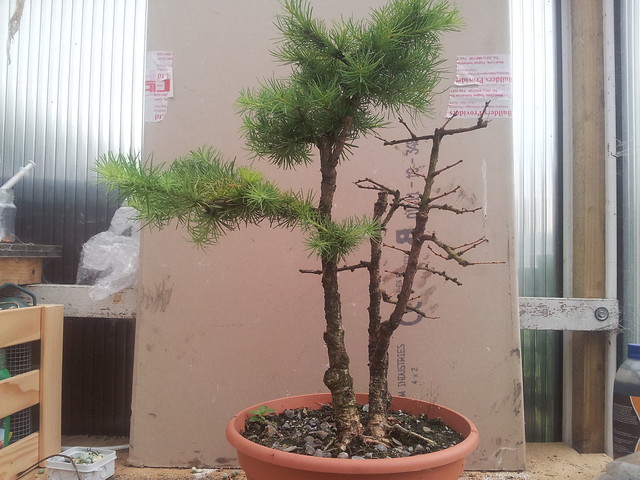
I think it was max of my experience and I was very happy what I have done.
In April 2013 this tree start pushing itself to life, but in my displeasure one trunk has die. So my concept need revision. Any way I know that I did many mistake when first styling so this tree will recover and grow free this season.


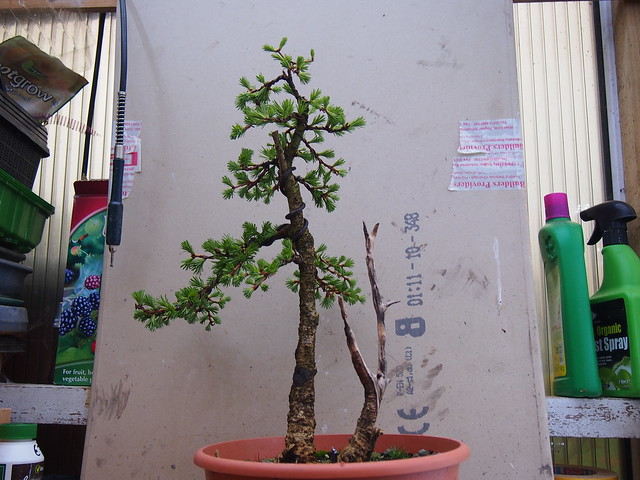
picture above from April 2013

Picture above from August 2013. This was feed by high N in spring till middle of summer and then balanced fertilizer every 4 weeks. Pruned in end of May. I will prune it in spring and let it grow free whole next season.
24/102013
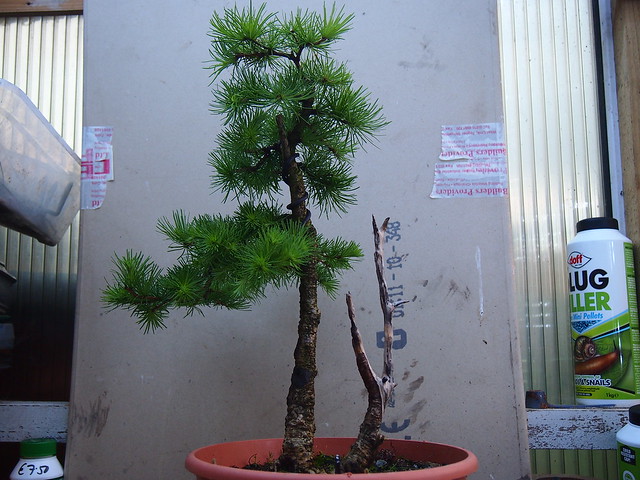
This larch has been leave to grow freely for whole season but one of the trunks has gone so I decided to turn it into Jin
tree in April I was hopping that left hand side trunk will come back but unfortunately it didn’t

and the tree with new image


it will get some wiring this winter
08/12/2013
I had some inspiration to do some bonsai today so this is what I have done.


I think I have chosen the best front for it ( will correct by Ian and Phil at next workshop). Next year will work on foliage.
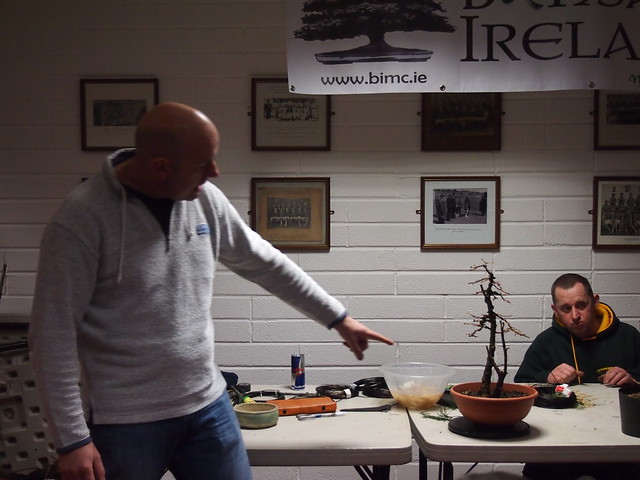
Styling of this tree has been adjusted on Munster Bonsai Club first workshop

with spring foliage
and now after some wire removed
09/11/2014
as needles has been drop off it is time to clean up, cut of what is not needed and wire for branches set.

tree in the end of season- before work

and after


04/12/2015

The tree in December 2015

after studding it I found some issues which need to be fix.
1 the yellow circle it is the division place where the second bottom branch coming out from trunk as you can see that branch is thicker then trunk below and the division place give revers taper to the trunk line. 


close up view to that branch.
2 red lines show that distance between them is not right judging by the distance between first two bottom branches.
Those two issues were confusing me big time so I decided that only one and the best way to fix it, is chop off everything above the first branch and re-build my tree .

This is how it looks now. I know that I took step back, but sometime we need to do it. Then we can see twice bigger steps forward. The time will show.

Pingback: Japanese Larch 1 update | twinsrat bonsai
Pingback: Japanese Larch 1- update | twinsrat bonsai